
Hope everyone had a wonderful Holiday Season. Best Wishes for a Happy New Year, from our family to yours.
Hope everyone had a wonderful Holiday Season. Best Wishes for a Happy New Year, from our family to yours.

I love pasta so very much, but sometimes it can get so heavy with cheeses and sauces. This simple pasta recipe is loaded with veggies, and has a light citrus sauce that is oh-so-yummy.
Ingredients: (serves 8+)
Directions:


Our Disneyworld trip is one month away, and I can hardly contain myself. We are looking forward to some warmer weather as winter closes in on the PNW.
A few things we have noticed:

 This trip I will be: Mary Poppins, Rapunzel, Snow White, Minnie, Jiminy Cricket, and Ariel. I am excited to show my “Disney Side”.
In the next few weeks look forward to my WDW packing list, a final pre-trip redux, and my post-trip WDW on a Budget posts! I ‘m so incredibly thrilled for this trip and I can’t wait to go to WDW!
Vaughn came to me last week with an urgent reminder that I hadn’t made cookies in a while. I whipped out this easy-peasy and very tasty Oatmeal Chocolate Chip recipe that bakes quick for a yummy treat. Also, none of the devil’s fruit (raisins).
Ingredients

Directions


Note: I purchased these Whiskey Elements fair and square and my review is in no way influenced by anything other than the quality of the product.
A few months back I backed a Kickstarter for a great new company out of Portland, Oregon called Time & Oak. Time & Oak far exceeded their Kickstarter goal for their unique little creation: “Whiskey Elements”.
On their Kickstarter page, Time & Oak describe state the Whiskey Elements will “Customize the flavor of your favorite whiskey and improve the quality in 24hrs. After a year of development, 6 patents filed, hundreds of samples tested, 3 ovens destroyed and a couple nights we don’t really remember, you can now get 3 years of aging ‘effects’ (time travel not included) in just 24 hours, and have complete control over the flavor. ”
Needless to say, Vaughn and I were very excited to try this thing out! Our Whiskey Elements arrived in the mail this week, and we were eager to share with you our results.

The Whiskey Elements are sturdy and well constructed little pieces of wood. We had the standard elements, though they do come in different flavors.
The basic idea is that you put the stick in a bottle of whiskey for 24 hours, and it changes the flavor. Vaughn and I were ready to be guinea pigs.
Vaughn chose a cheaper Whiskey that neither of us had tried before. At about $15 a bottle, this whiskey is a basic Canadian Whiskey.

We reserved a small amount of the whiskey for comparison,  plopped in our whiskey element, and waited….

24 hours later, we were ready to taste.

First we tried the un-treated whiskey. Vaughn called it “incredibly unremarkable”. In fact, I was really not impressed by it at all. It was very basic and had no really unique flavor. It was smooth in the mouth but burned going down. Overall, I gave it a big thumbs down and I will not buy that brand again. 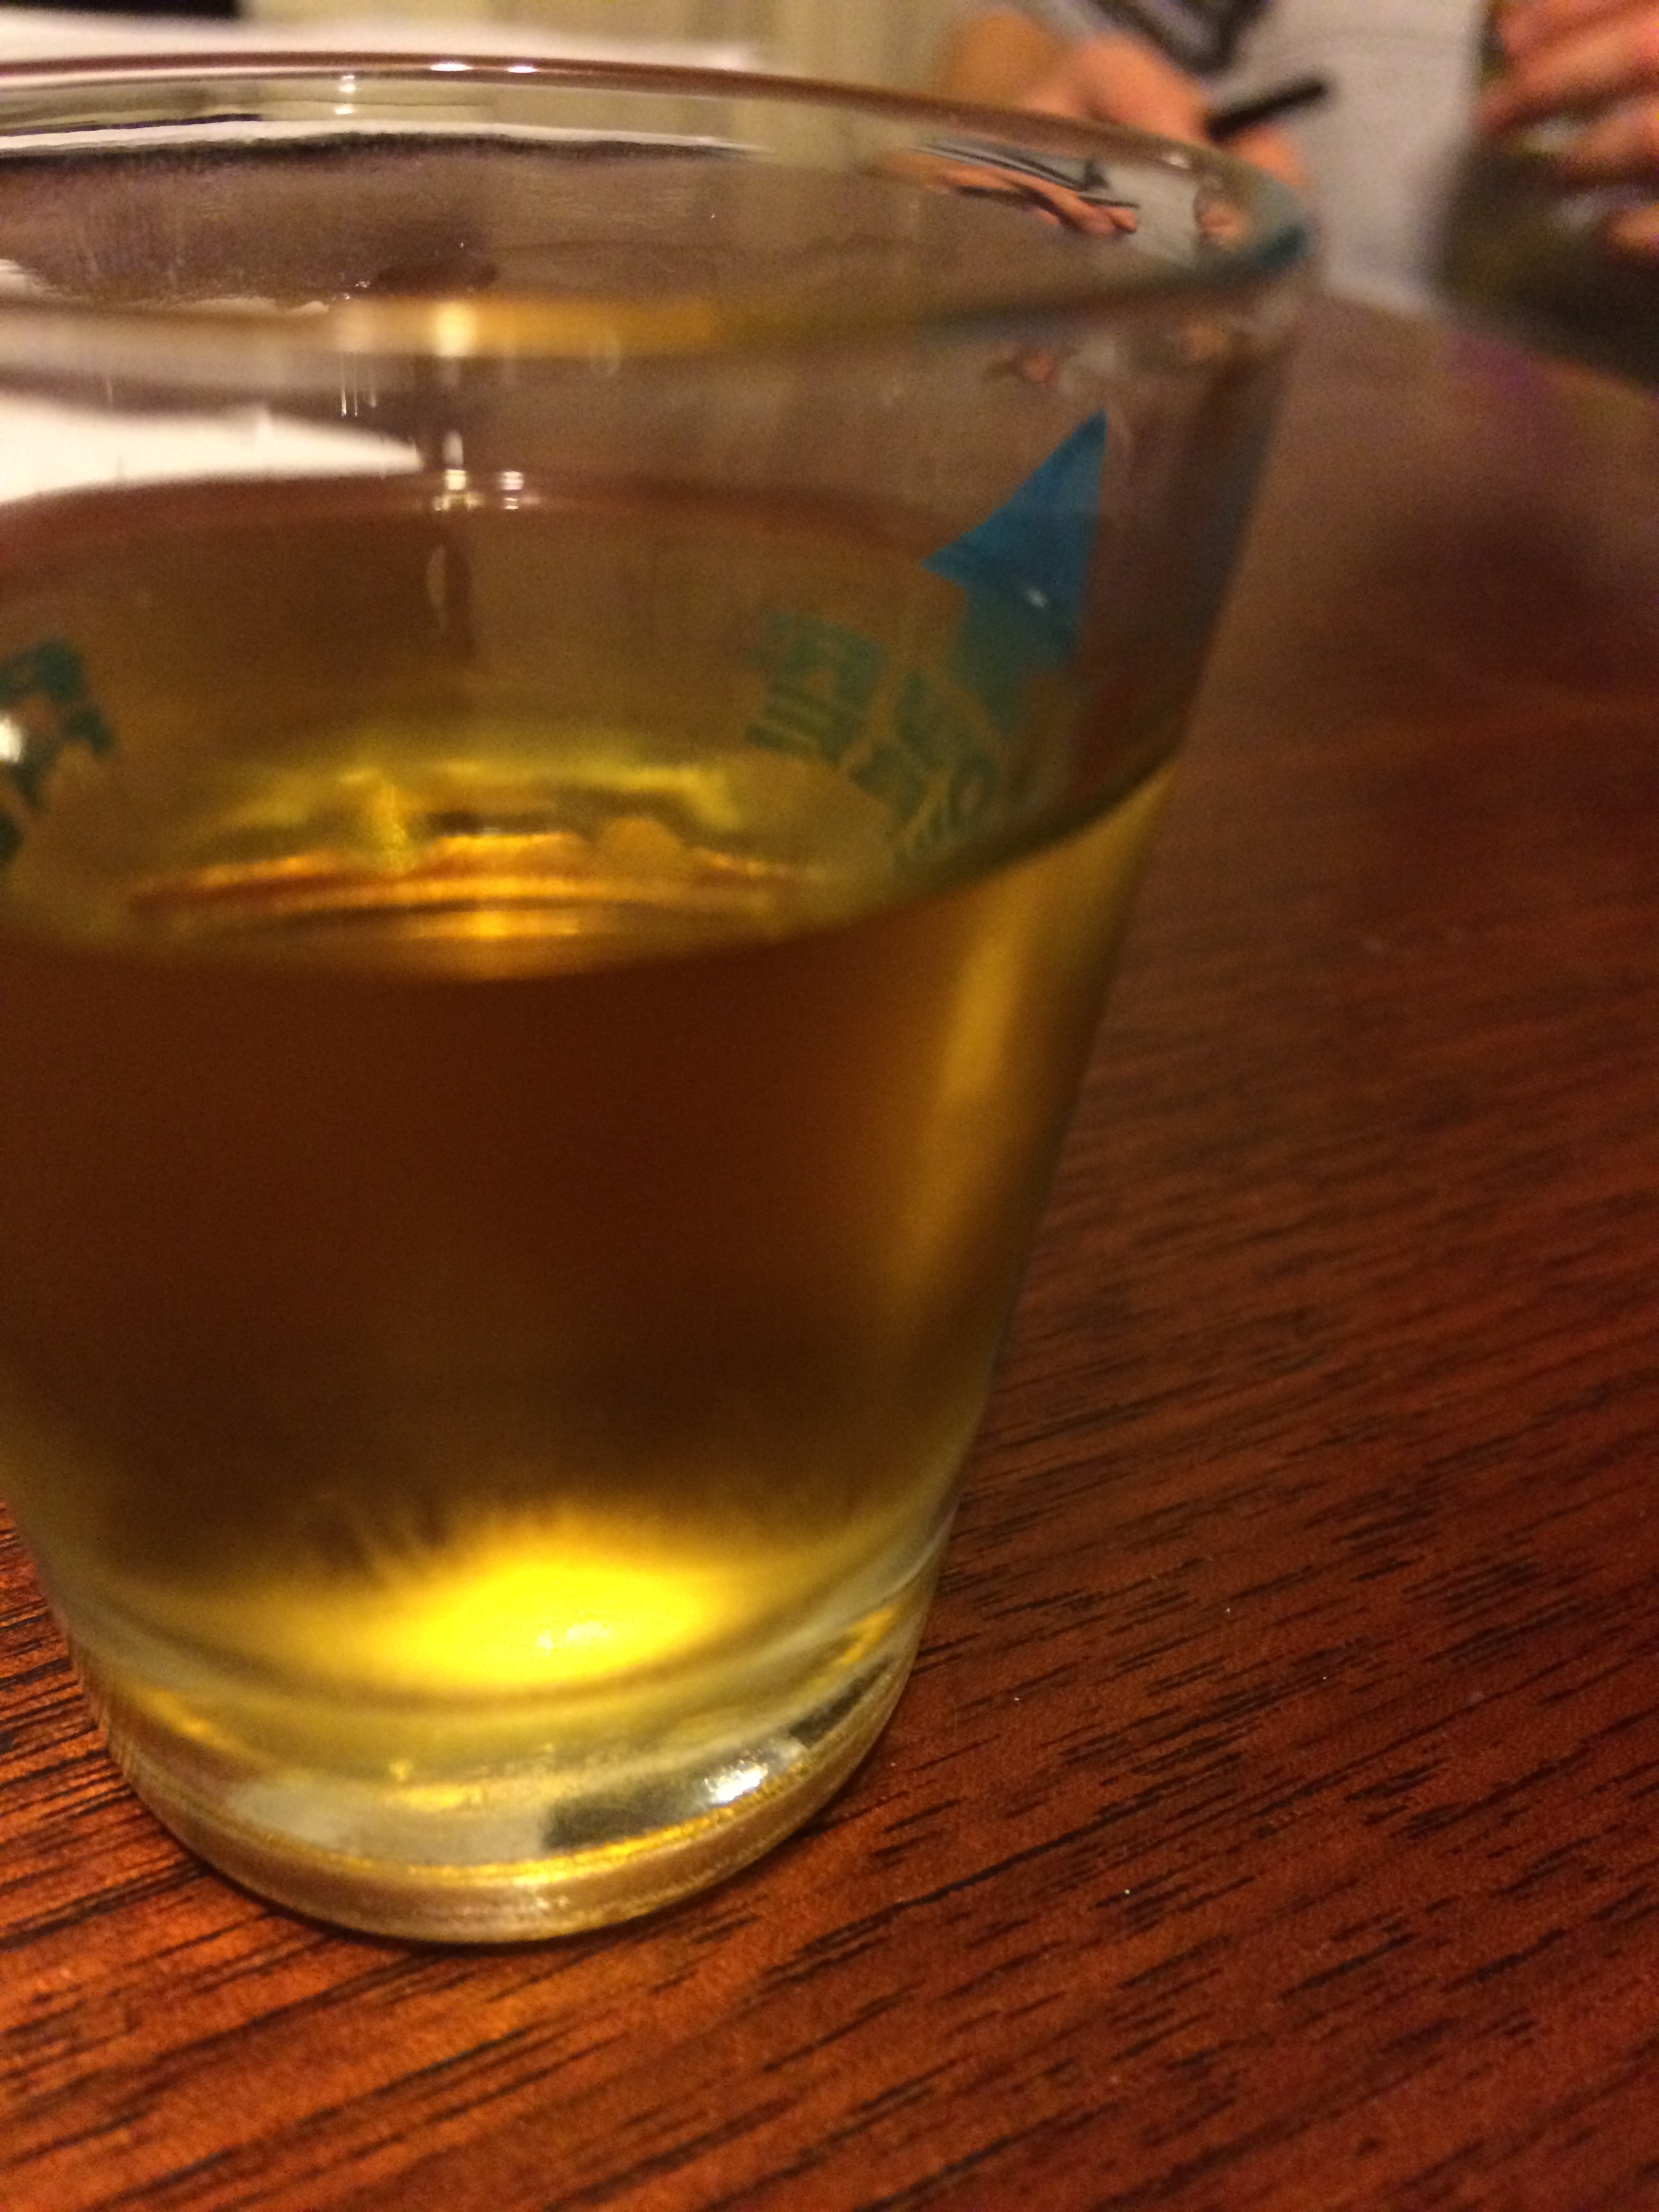
Next, we poured the “elements” whiskey.

Immediately we noticed a difference, even in the smell. The taste was so much smoother, and the burn was gone. It might have been my imagination but it almost tasted a little sweet to me. It’s hard to describe, but the Whiskey had a totally different flavor profile. Honestly, I would not have drank the stuff before, but with the elements it was a really great flavor and drinkable on it’s own.
I am excited to try this in a higher quality whiskey or one that I actually enjoy, a bourbon perhaps. We also received with our Kickstarter package some Scotch Elements specifically for scotch that I look forward to trying out. We recieved a pretty great package as part of our Kickstarter, but for $12.00 you receive two Whiskey Elements which are good for two fifths of Whiskey or one half-gallon, which is a pretty good deal. I plan on purchasing the flavor sets soon to give those a try.
Overall, we would highly recommend this product.
Here’s a late in the day treat for y’all…

Christmas Dog!

Sometimes, you just want something a little different for dinner. I was going through my pantry and found an inordinante amount of coconut milk, and decided it was time for a shellfish day in the Emmons-Smith home. Presto!
Ingredients

Honey Lime Shrimp
Coconut Rice
Instructions


This is an easy and delicious dinner that is moderately healthy and very filling. Enjoy!

